

How to Draw the Ear - Front View
Welcome to how to draw the ear from the front, I cant wait to share this step by step with you! You can use whatever tools you prefer, I recommend using pencils because you can erase away mistakes! :D I also have some worksheets for drawing ears that you can print and use once you’ve tried the step by step below. Hands on practice is crucial for drawing so the worksheets are designed to promote a streamline way of drawing regularly.
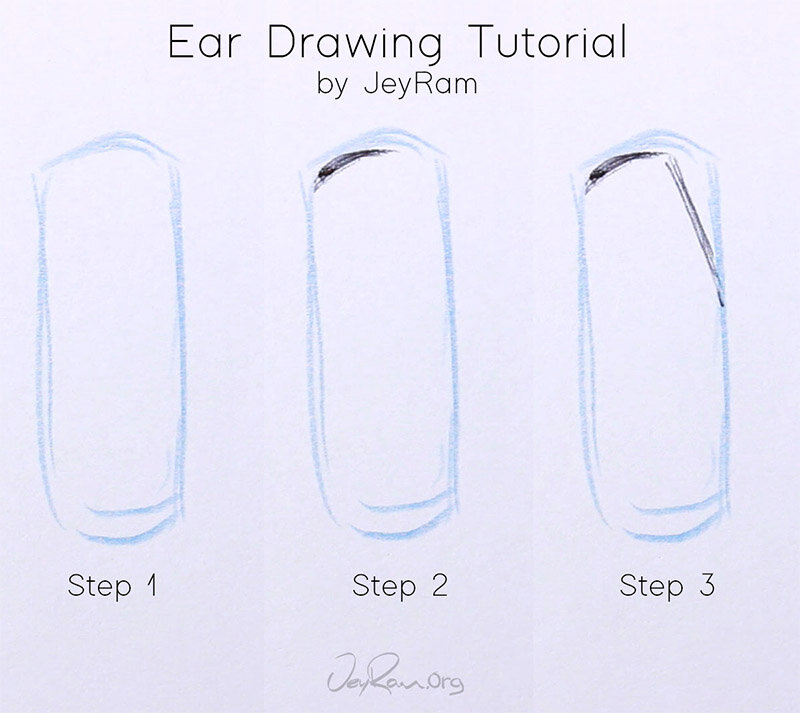
Step 1. Tall Rectangle
Start by drawing a tall rectangle that will be our guideline for this drawing, if you are working in pencil make sure to draw this in lightly.
Setting up guidelines for the drawing will make it much easier to develop a process that works at multiple angles.
Step 2. Outer Corner
This drawing will be of an ear that connects at the right side of the rectangle, start by drawing a small curve at the top left of the box.
Make sure to end this line towards the horizontal center of the box (not connecting the line to the vertical line on the right)
Step 3. Steep Angle
Draw a line that is at a steep angle downwards and connects the previous line to the right edge. This is where the ear connects to the skull, the line connects about 2/3rds of the way up
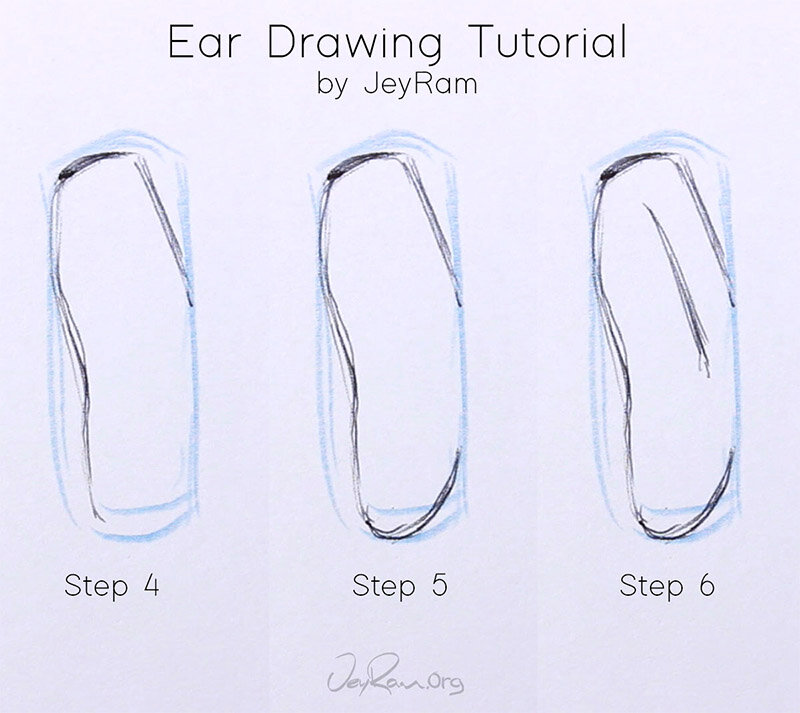
Step 4. Outer Curve
Draw a line from the top left that comes straight down, curves a bit into the rectangle and then down to the bottom. Play around with different curves here, try to make the shape feel as organic as possible.
Drawing natural curves can be very challenging so don’t be shy about erasing.
Step 5. Bottom Curve
Draw a line that swoops up from the previous line and connects to the right edge of the rectangle.
With this line in place, we have the outer edges of the ear complete, the empty space on the box is where the ear connects to the head.
Look your drawing over and make adjustments to the lines if something needs to be fixed, you can also erase away the guidelines at this point.
Step 6. Ridge
Draw a line that runs parallel to the line in step 2 (the line that is at a steep angle towards the top right)
This marks the ridge of the ear which is very prominent when the head is facing forwards.
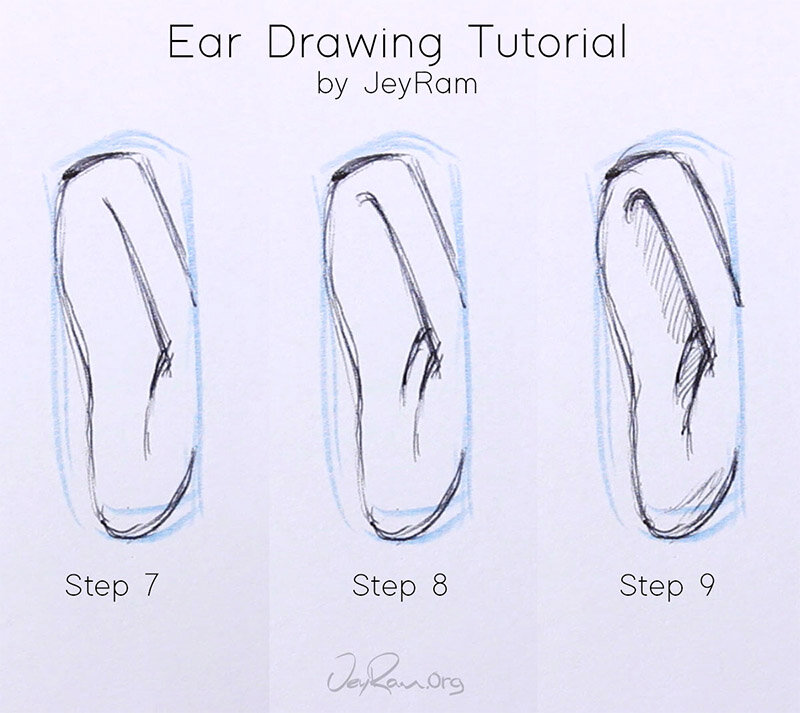
Step 7. Bottom Curve
Add a line that curves outward from the bottom of the line in the previous step, this should give the ear some dimension.
Note how these lines are slightly rounded in the example drawing
Step 8. Inner Curve
Draw a small curve that also connects to the line in step 6 (the ridge), the area between this line and the previous one is where the hole of the ear will be located and the darkest part of the ear.
Step 9. Shading
Add some shading to the inner regions of the ear, notice how this provides depth to the ear, it’s clear that the area on the right side is closer to us and the dark regions are slightly farther away.
Step 10. Practice Regularly
Drawing is a skill that needs to be continuously honed, especially if you want to experience the of joy that comes with creating regularly.
I have made tons of tutorials (and will be making more) on the site that you can use to hone your craft and make sure to check out some of the free worksheets I have made. The worksheets are designed so that you have clear objectives in terms of developing your skills while also leaving you room to grow in a way that isnt overwhelming.
This completes the drawing of the ear from the side view. There are tons more tutorials on the site that you can check out and I will be covering lots more topics over the next few months so stay in touch! I hope this was useful to you :D Thank you for letting me part of your artistic journey ^.^
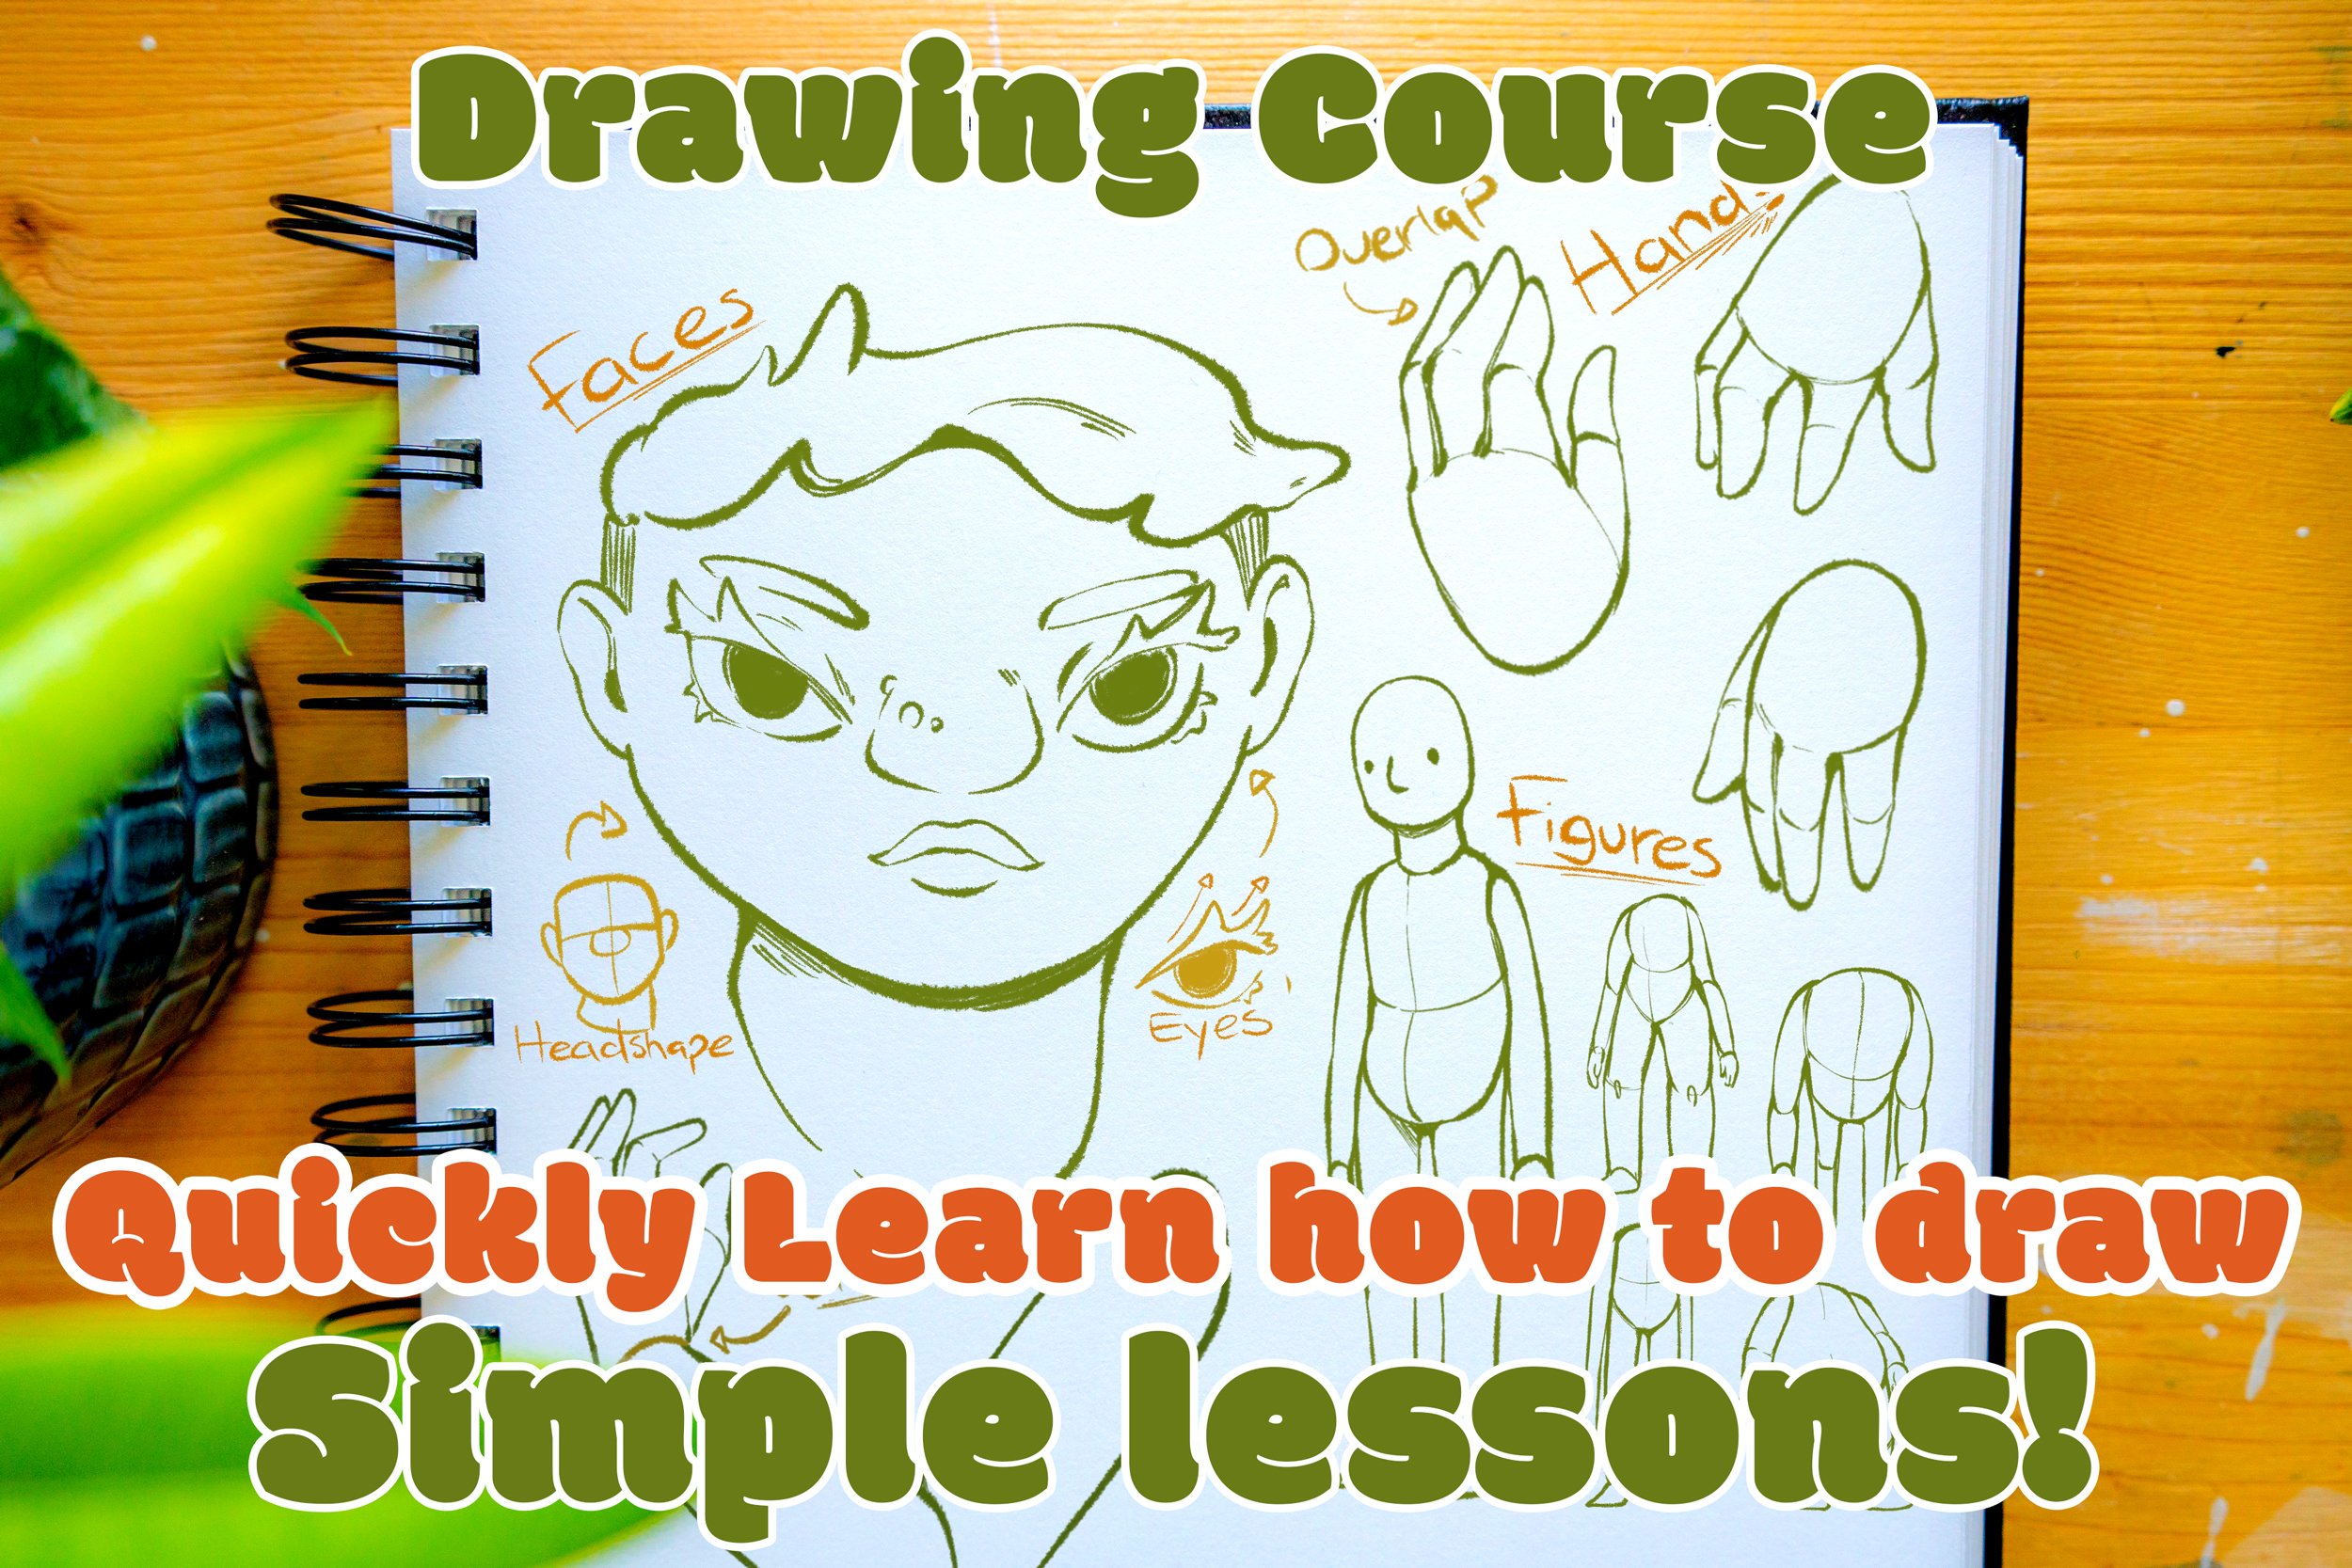
Quickly learn the basics of drawing faces and start having fun with this simple drawing course designed for beginners!
This Course Includes:
✓ Over 14+ hours of video content!
✓ 35 Video Lessons!
✓ 35 Printable Reference Sheets!
✓ Real time video with voice over!