Eye Drawing Practice (Printable PDF)
Eye Drawing Practice (Printable PDF)
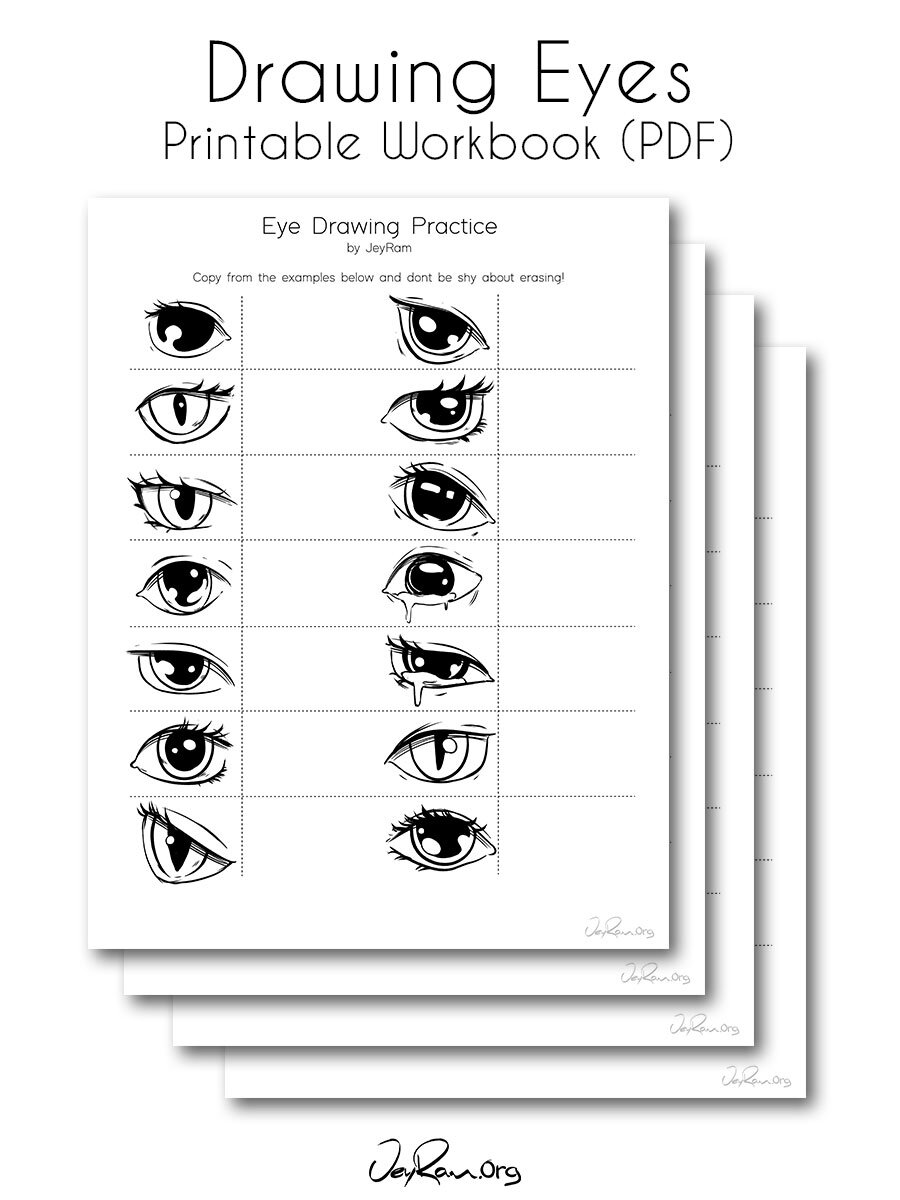
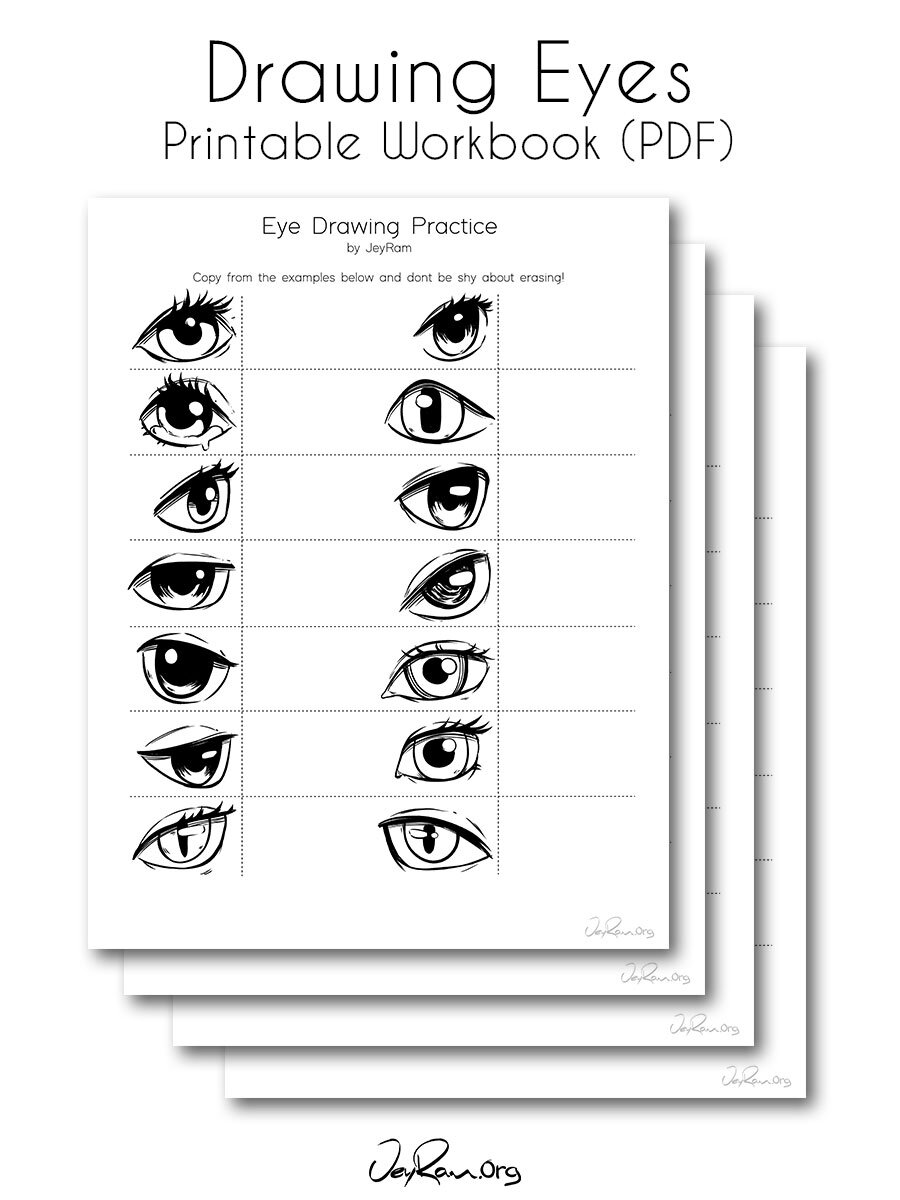
Learning the technical skills of drawing can feel tedious & complicated, these worksheets are made to make the process both easier and less time-consuming.
7 Pages of practicing eyes of different styles and angles
This workbook is also included in the Fundamentals Bundle that you can grab here if you are interested in getting the whole collection at a discount!
How to Draw Eyes
Here is the free worksheets that are the precursors to the practice sheet you see above.
11 Steps for Drawing Eyes
Step 1. Upper Lid
Start the eye by drawing a steep incline followed by a flat line. Make the corner of these two lines slightly curved and organic. Use the diagram on the right to see what line we are adding throughout this tutorial
Step 2. Lower Lid
Draw a curved line that starts at the top right side of the upper lid and curves downwards, this line starts to flatten out around the same height as the starting point of the previous line. You can connect these lines at the corner if you would like, I personally like how it looks when there is some space between the two.
Step 3. Semi-circle
Add a semi-circle under the upper lid, in this drawing I am drawing the eye more to the right side but you can also move it towards the left if you want it looking in a slightly different direction.
Step 4. Eyelid Crease
Add a curved line above the first line we drew to add depth to the eye, this line shows where the eyes begin to protrude outward from the skull. This is why there tends to be a lot of shadow between this crease line and the brow line.
Step 5. Highlights
add two small circles in the semi-circle we drew earlier. We are going to keep these two regions as the highlights of the eye, you can also play with the size and shape of these highlights if you want.
Step 6. Shade
Shade in the semicircle without filling in the highlight regions we defined in the previous step. Don’t darken this area too much because we want the pupil to be the darkest part of the eyes.
Step 7. Add Eyelashes
Depending on how masculine or feminine you want the eyes to be, add some eyelashes. For more masculine features you can just darken the top lid to indicate that there are small hairs or add in some small eyelashes if you would like.
Step 8. Eyelashes + Darken
Fill in the eyelashes further by adding more curved lines & darken the line of the top lid to help define the eye further.
Step 9. Pupil
Draw a small circle within the semi-circle and darken in the area to create the pupil of the eye. This should really help you drawing pop out of the page, I purposely made the highlight sit above the pupil because the contrast between the two creates a nice effect.
Step 10. Shading
Add some shading right underneath the top lid, this gives the eyes more depth because it shows that the top lid & eyelashes are casting a shadow. I also added some small shading lines around the eye to give the drawing more life.
Step 11. Eyebrows
Draw in the eyebrows, if you want a tutorial on how to draw eyebrows you can use the free worksheets below, I go over how to fill in the hairs for the eyebrows on page 2 of that PDF.
f you enjoyed this tutorial and want to practice drawing a variety of eye styles, consider grabbing the worksheets above. I create these worksheets to make the technical parts of drawing much easier to learn, we will do a lot of copying from example because its by far the best way to learn how to draw. I also have tons of free tutorials on the site that you can check out :D


